The Easiest DIY Ever: Ocean Drum Tutorial

Autism Awareness & Acceptance: Recommended Reading

Weekend Recap: April Sensory Friendly Concert
Despite the fresh coat of snow outside my window right now, I know that April means summer is coming soon in Minnesota! We all know summer means NO SCHOOL and if you are the parent of a little one I’m you’re busy trying to stockpile activities, craft ideas, and anything else that will keep those little hands busy for three whole months!
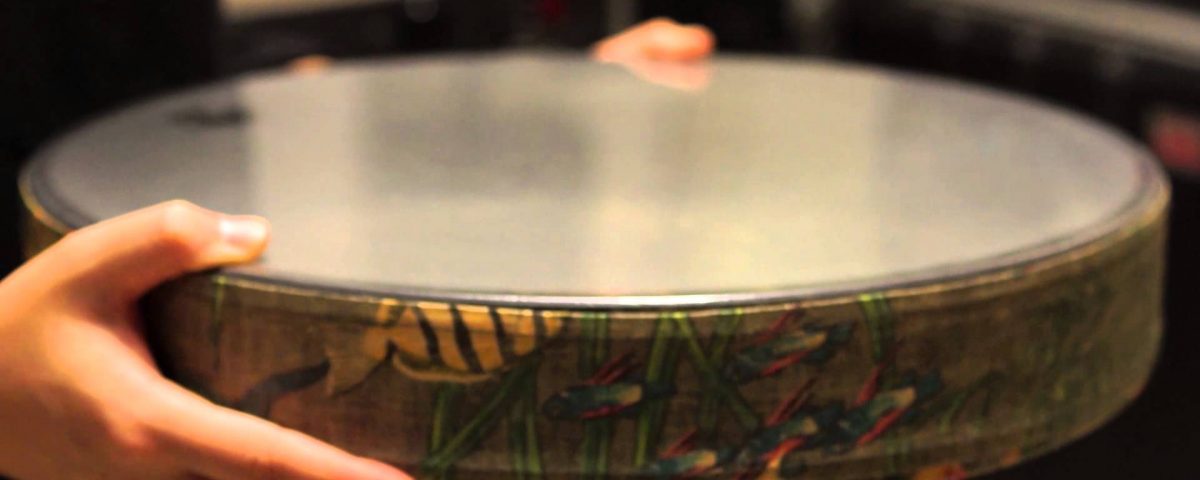
Have you ever played an ocean drum? They are AMAZING and completely mesmerizing. A lot of our clients could just sit and watch the beads roll back and forth all day long. Ocean drums are a tool that we often use in our music therapy sessions to work on skills like slow and controlled body movement, impulse control, relaxation, working together, turn-taking, and much more. Read on to find a super easy five step tutorial to make your own sensory ocean drum at home! This DIY craft is:
 Inexpensive
- Quick
- Colorful
- Musical
This craft could be created for just a couple of dollars! The super low price tag makes up for the fact that the drum might not live forever…
MATERIALS:
- Two clear or transparent colored plastic plates
- If you want to get fancy, an aluminum foil pie pan with a crimp-on clear plastic cover is even easier!
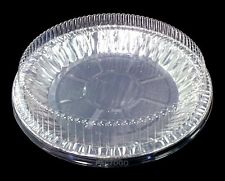
- If you want to get fancy, an aluminum foil pie pan with a crimp-on clear plastic cover is even easier!
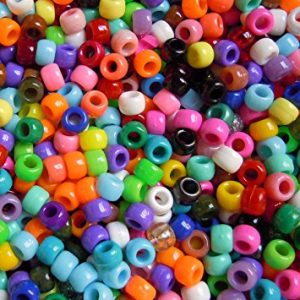
- Beads, beans, or any small, round object that can roll around inside of your drum
- Glue gun and glue
- Stickers, rhinestones, ribbons and any other embellishment you can think of to decorate your drum.
DIRECTIONS:
- Fill the bottom plate (or the foil if you’re using a pie pan) with a handful of beads or beans.
- Remember that differently-sized beads will create different sounds, so feel free to experiment and find a sound that you like.
- If you want embellishments on the inside of the drum, now is the time to add them. Some fish or ocean-themed stickers would add an extra pop of color and reinforce the “ocean drum” concept.
- Line the upward-facing rim of the pan or plate with hot glue.
- Seal the top plate on, ensuring that you have a tight seal so beads won’t fall out.
- Decorate the outside of the plates with stickers, drawings, and any other embellishments.
- Have FUN playing your brand new ocean drum!

