Lucky you! DIY St. Patrick’s Day Sensory Crafts

Three St. Patrick’s Day Activities To Leap Over!

Celebrating World Down Syndrome Day
Hello everyone!
I hope you are all having a fabulous day! St. Patrick’s Day is coming up this weekend, so we’ve made a list of a few green-inspired DIY crafts for those of you who celebrate this holiday. If you don’t, no worries! You can adapt each of these activities to be your own. I know some of you are on spring break, so these are perfect to keep your kiddos busy! Keep reading for step-by-step directions.
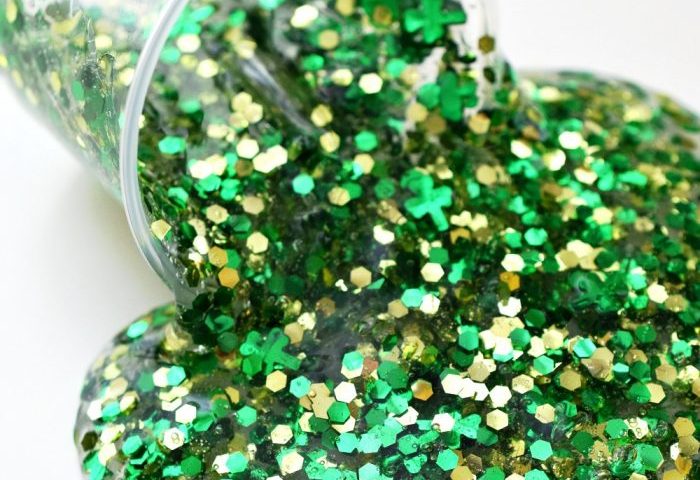
Shamrock Slime 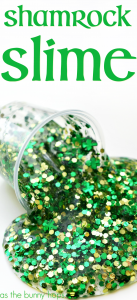
We found this sparkly, sensory friendly recipe from As the Bunny Hops. Click on the link to go straight to her page! She’s created simple, step-by-step instructions for how to do this activity at home. I promise, your kids will love it! We’ve included the instructions here for quick reference, but be sure to visit her page for lots of super cute ideas and activities. Here’s what to do:
Ingredients:
1/4 cup clear glue
1/4 tsp borax
2 small bowls
1/2 cup water
Directions:
- Add 1/4 cup of water to each bowl.
- In one bowl, add 1/4 cup of glue and a generous sprinkle of glitter and shamrock confetti. Mix well.
- In the other bowl, add 1/4 tsp of borax. Mix well.
- Slowly stir the borax mixture into the glue mixture. Keep stirring until everything is mixed well.
- Store slime in sealed container while not in use. PLEASE DON’T EAT!
Calming Sensory Bottle
This activity idea comes from My Home Based Life. Check out her website for advice on parenting, educational resources, crafts and activities, recipes, and so much more! Click here to print her recipe. We’ve also included her directions below:
Materials: 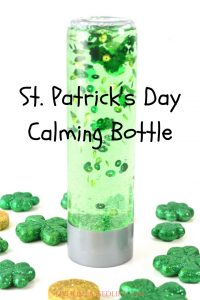
Empty water bottle (she uses Voss)
Green colored hand soap
Green colored dish soap
Shamrock confetti, green/gold glitter, green sequins, green beads and other small green decorations
Hot glue gun
Directions:
- Remove the labels from the water bottle. You can use rubbing alcohol to remove any sticky residue left behind.
- Fill the bottle almost to the top with green colored hand soap. Just leave a few inches unfilled at the top of the bottle.
- Put in your shamrock confetti, green sequins, green necklace beads or any other small green decorations you might wish to use in the bottle.
- Add a little bit of green liquid dish soap to the bottle.
- Close the lid and test how fast or slow the objects in the bottle are moving. If they need some help getting started, you can use a small popsicle stick or skewer to swirl them around. If you want the movement to go faster, add a bit more dish soap. If you want it to go slower, add some more hand soap.
- Once you have gotten the desired movement in the bottle, fill it to the very top with hand soap.
- Use a hot glue gun to secure the bottle closed and prevent leakage.
I Spy Bottle
We LOVE this activity from Modern Parents Messy Kids. Go to her page for more play activities and art ideas! Follow the directions below to make your own “I spy” bottle:
Materials: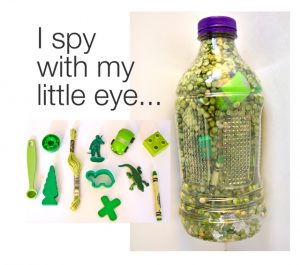
Large, clear bottle
Dried split peas (or rice)
Small, green objects lying around the house (we suggest items like legos, crayons, buttons, marker lids, yarn, magnets, paper clips, )
Super glue or hot glue
Directions:
- Gather small green items from around the house. Make sure that the items can fit through the bottle opening.
- Take a picture of each of item. The pictures will help your kids know exactly what they’re searching for inside the bottle.
- Fill the bottle with a mixture of green items and split peas. Leave some room inside for the rice and treasures to slide around—then kids can tilt the bottles and find the different objects.
- Super glue the lids so all the rice and trinkets stay in the bottle!
- Give the pictures to your child and have them check off each item as they find it.
Happy DIY crafting! Let us know how they turn out!
Lots-o-love,
Lacey

